My First Wide Field Astrophotos

After the encounter with the Pretty Good Comet of 2020, F3 NEOWISE, and not getting any good pictures of it, I got it in my head to get DSLR camera so I could do wide field astrophotography. That means wide shots of the sky that look sort of like what you see with your eyes, not a closeup through a telescope. The idea wouldn’t go away, even though the comet did. So I set out to find something used and useable that I could afford, something that would be good for a beginner and with enough capacity to grow with me for a while. After a few weeks of research and shopping online, I found a Nikon D3100 body in great condition for what seemed to be a reasonable price. After a misfire, I found an AF-S 18-55mm DX f/3.5-5.4 zoom lens, also in great shape, to go with it, and again for not too much money. So off we go.

My Photographer Cred

My dad used to do a lot of photography as a hobby. He even had his own darkroom, developing his own film and printing his own pictures in black and white. My brother was something of a photographer, too, having got in pretty early on the digital revolution with a Canon Rebel, which my daughter now has. While I’ve never owned an SLR before, being around a couple good photographers gave me a general conceptual knowledge of how they work. Plus, I have used plenty of point-and-shoots and have developed a pretty good eye, I’d like to think. Still, actually using a DSLR, and for a specialized brand of night photography, presents a pretty steep learning curve.

Not Gonna Do It

For one thing, on my first attempt, I found that my camera is finicky and stubborn in low light conditions. Even having figured how to set the aperture wide and the shutter speed long in manual mode, I couldn’t convince the D3100 to actually take a picture it was sure would be bad. This led to a great deal of frustration on my part, causing me to question whether I had made a terrible mistake. I managed not to rage quit and instead resigned myself to discover through further study how to be smarter than my camera. Reading the owner’s manual seemed a good first step, but before too long I got bored and did an interweb search for my problem.

It turns out the “AF” in the AF-S lens stands for “auto-focus,” which the D3100 takes very seriously. This line of cameras performs auto-focusing with motors in the lens rather than in the camera itself as the lens and camera discuss the shot you are trying to take. Consequently, there is a switch on the side of the lens to go between automatic focus and manual focus. When in auto mode, the camera tries to give the lens all the information it can in order to get a sharp focus. If the camera can’t see well enough to know if the shot will be in focus, it won’t flip the shutter. Putting the lens in manual focus mode solves this problem. The camera still boldly announces that the shot is too dark, but assured by the now-manual lens saying, “I got this,” it allows the picture to go ahead, even though you clearly don’t know what you are doing, in its not so humble opinion. Thanks, internet photography forums! You saved me from having to slog through the boring owner’s manual!

And so it was that, having switched to manual focus, I accidentally took a 20 second exposure of the inside of my lens cap. At first I was confused, because, as noted, the camera was still declaring the shot to be invalid. But having heard the shutter flip, I realized I had broken the code. Actually, taking a “dark frame” is an important part of astrophotograph processing, as it reveals any hot pixels and biases and stuff that the camera and lens may have that can then be subtracted from the final product, or so I’m told. I’m nowhere near ready for that level of postproduction yet. Nevertheless, that first unintentional black picture was the start of something wonderful. I hurried outside with my camera and tripod, found a mostly clear sky (not sure how this was allowed, but I’ll take it), and started taking long, dark pictures of the night sky at 1:00 in the morning.
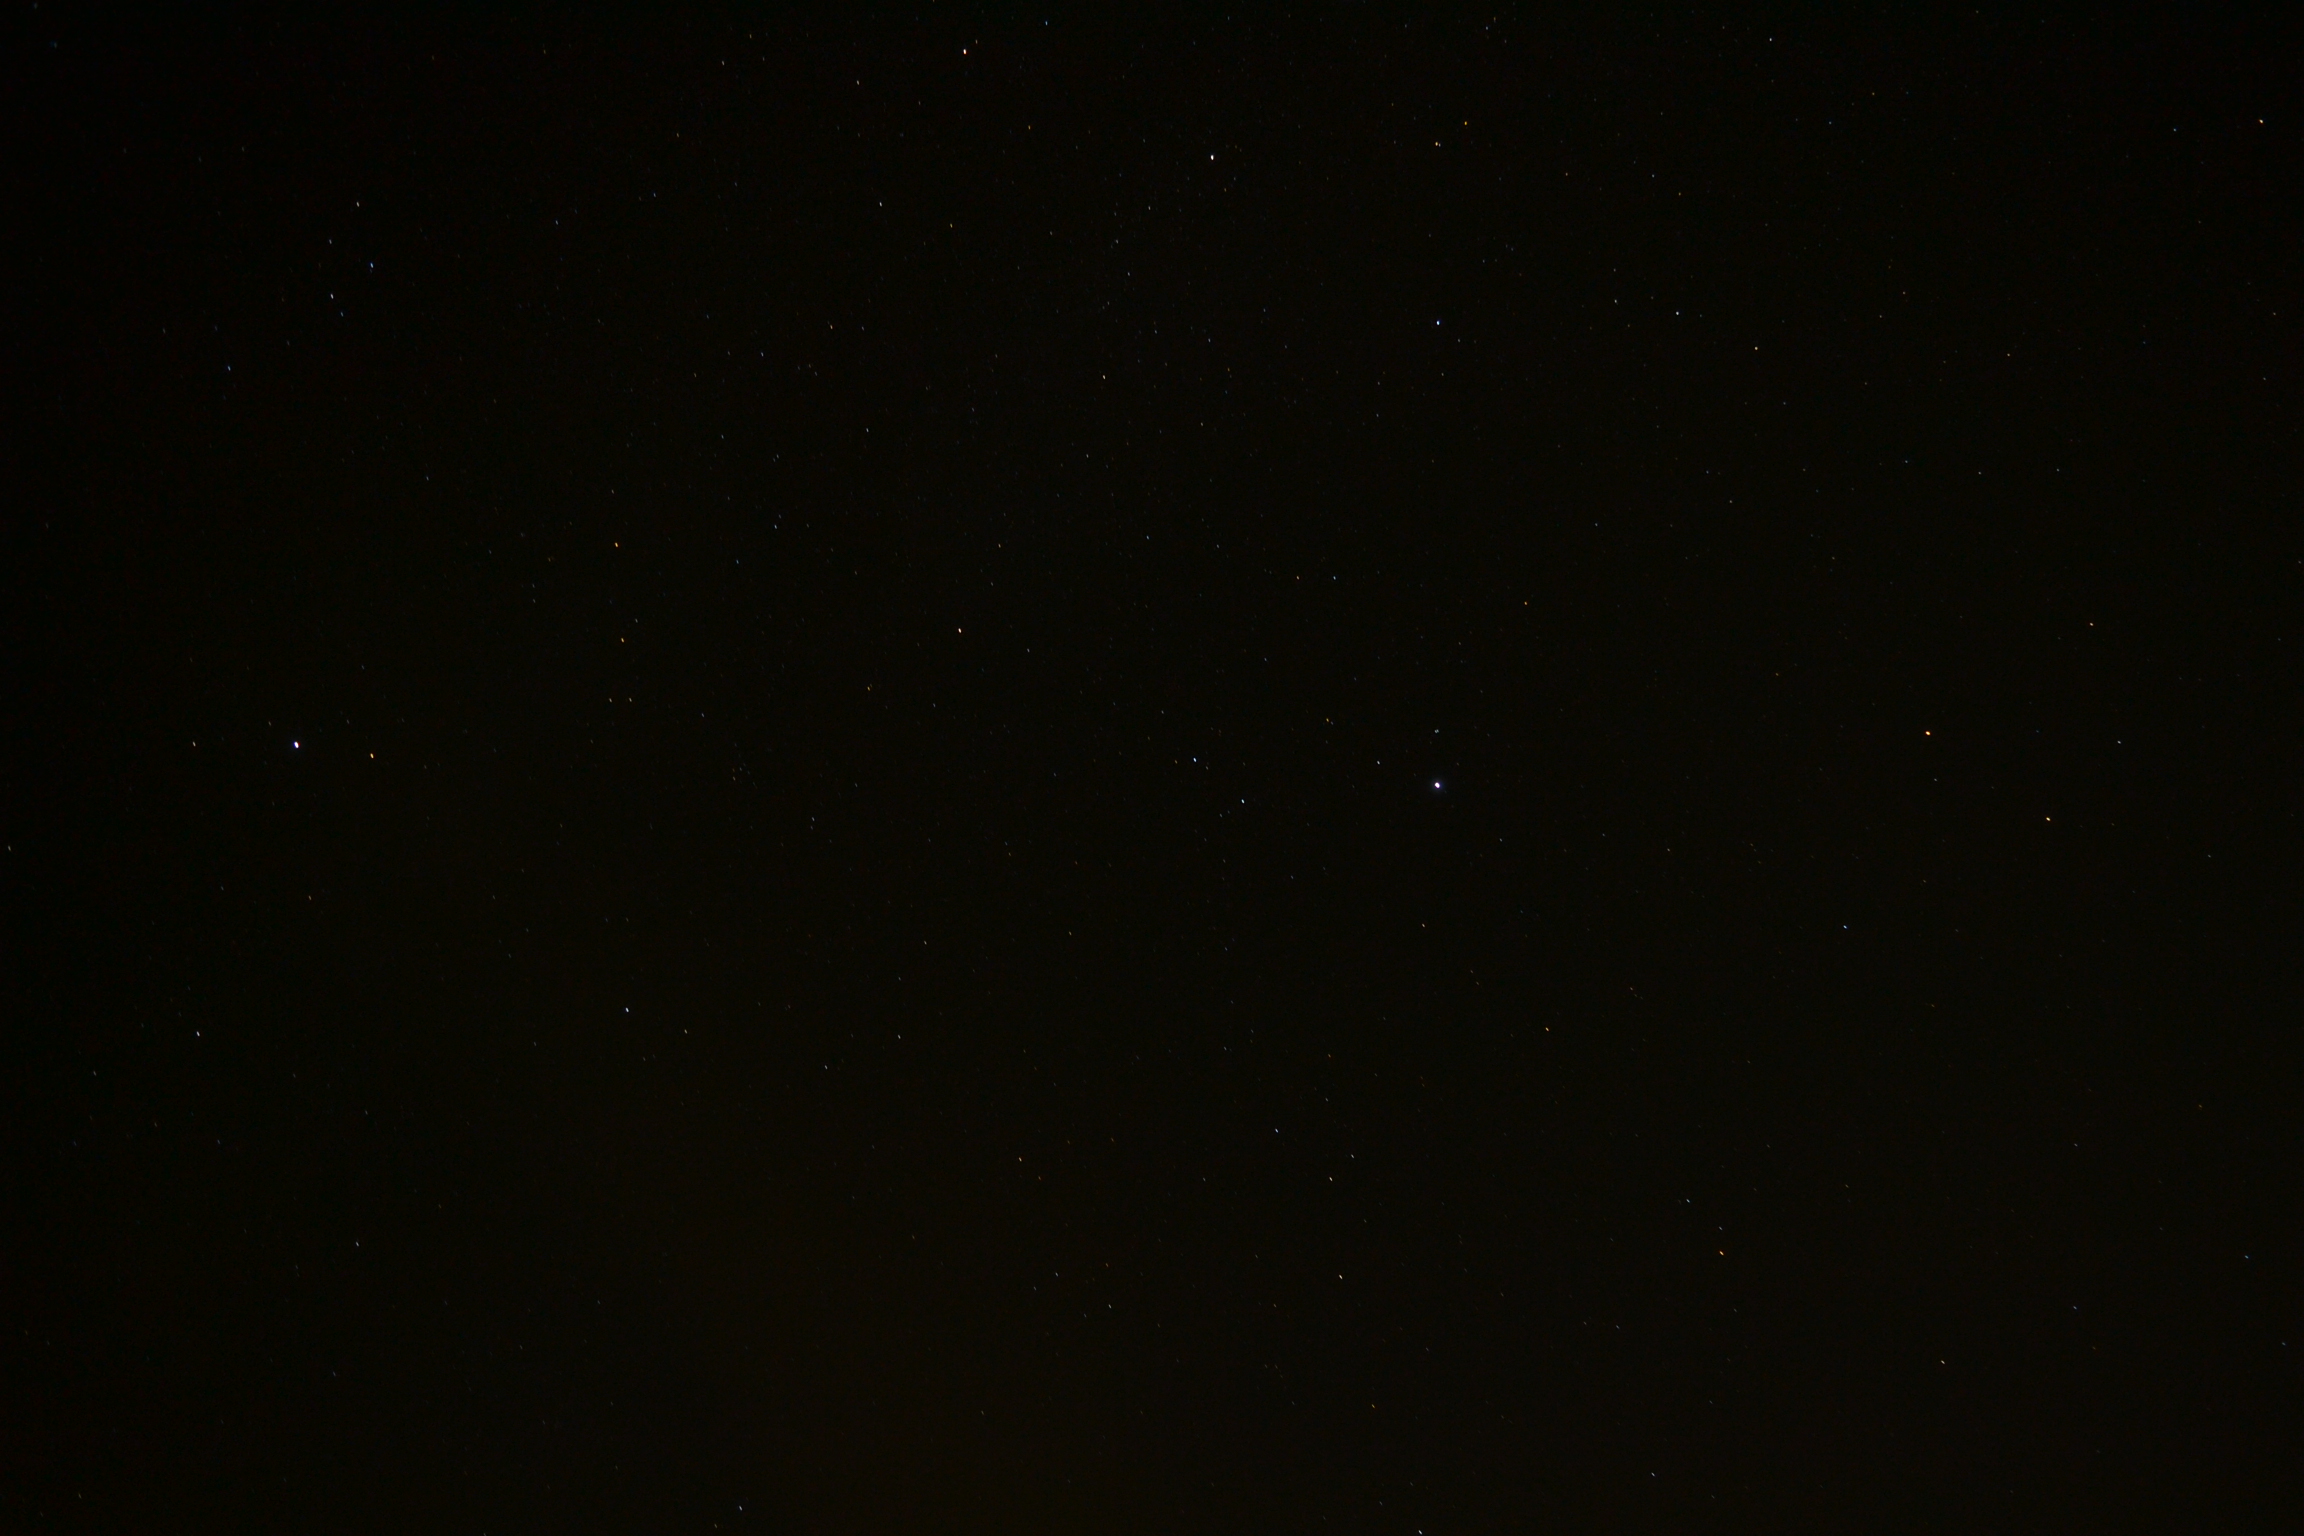
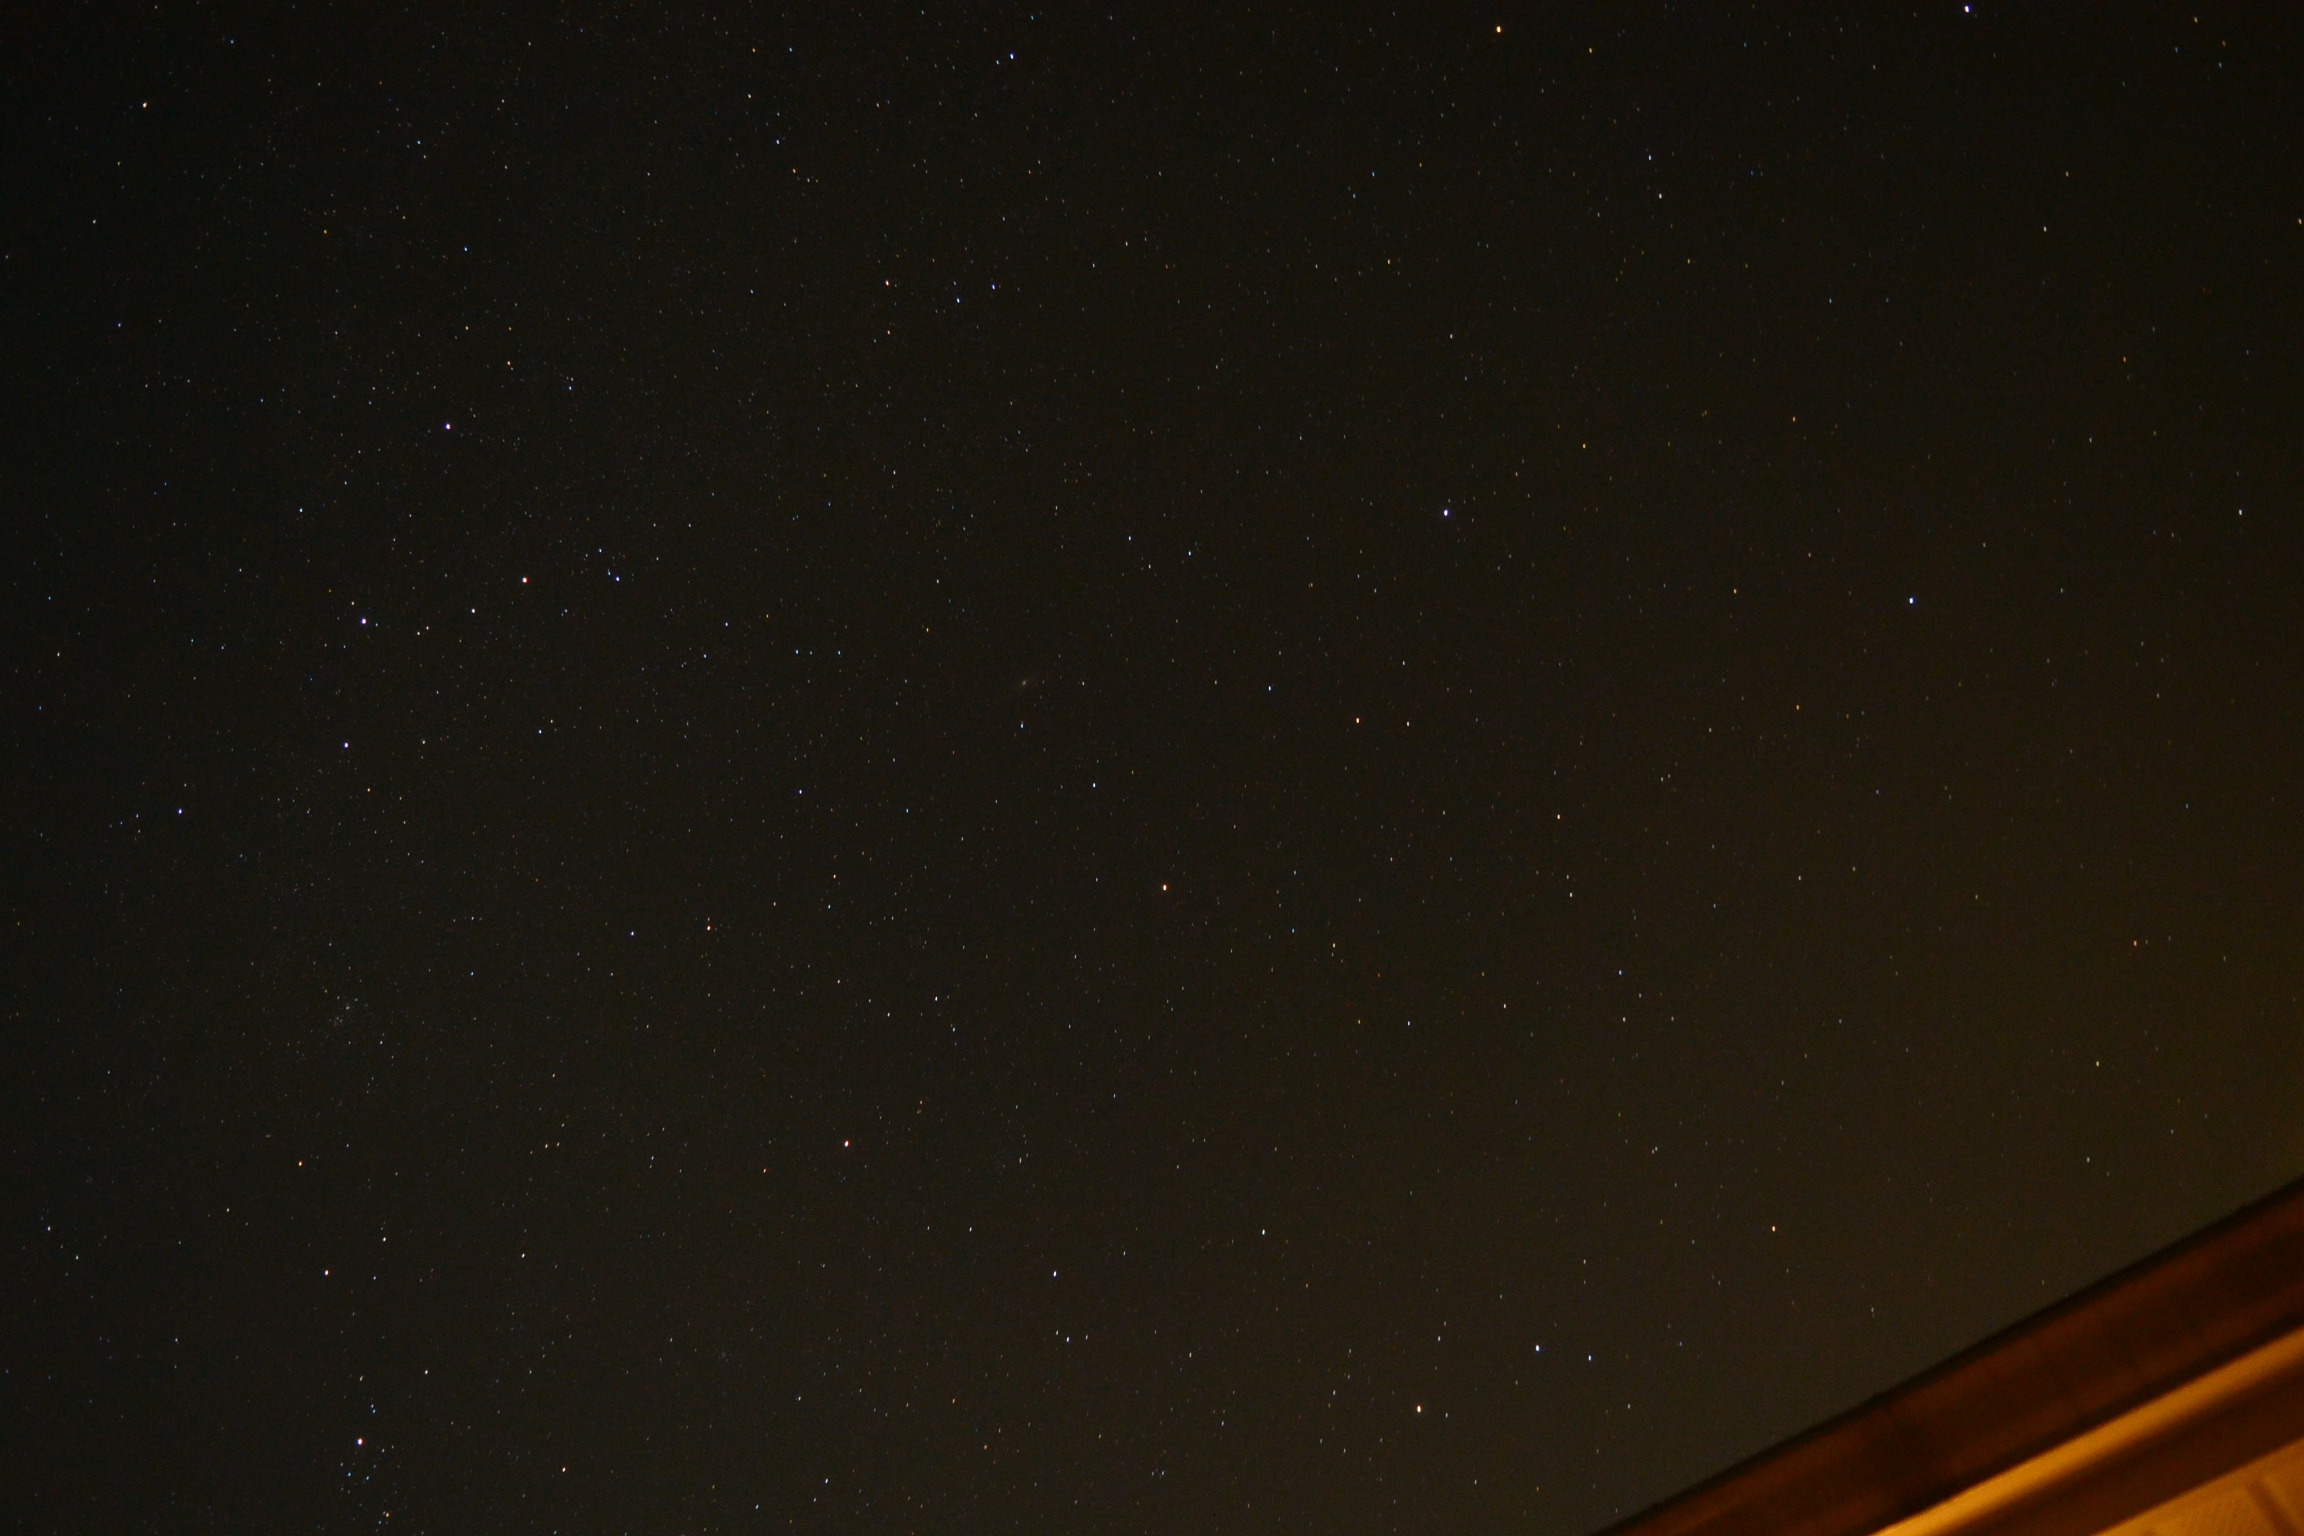
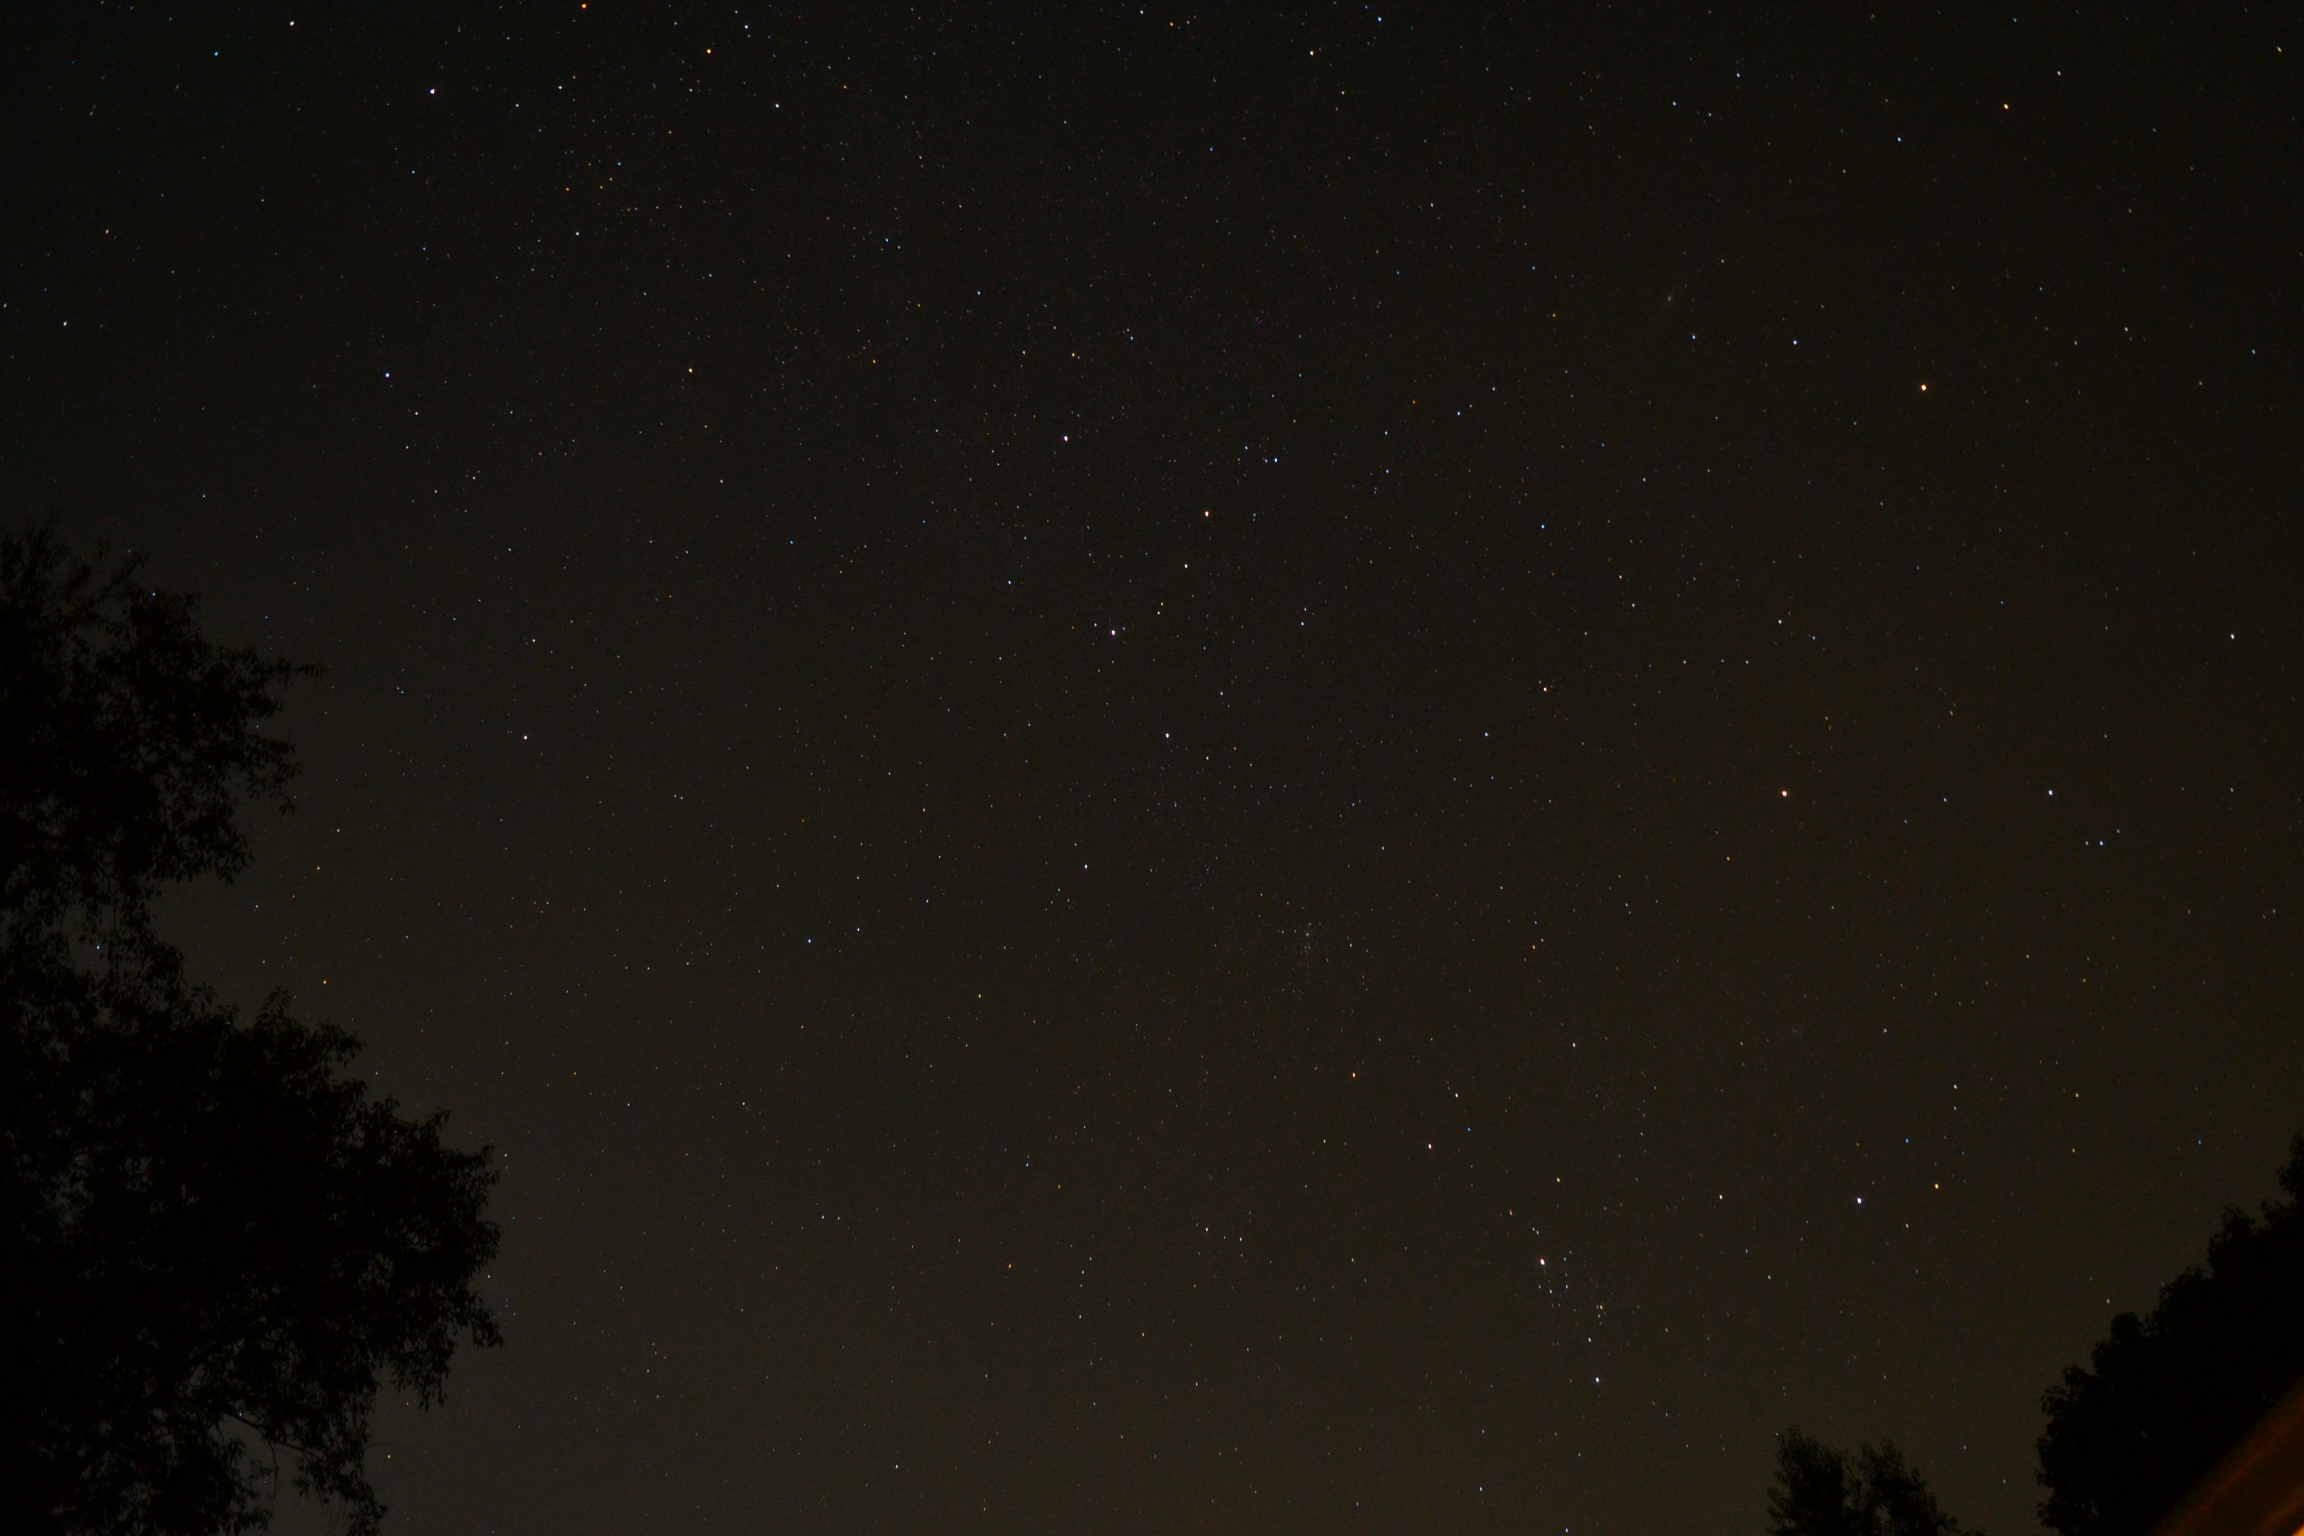
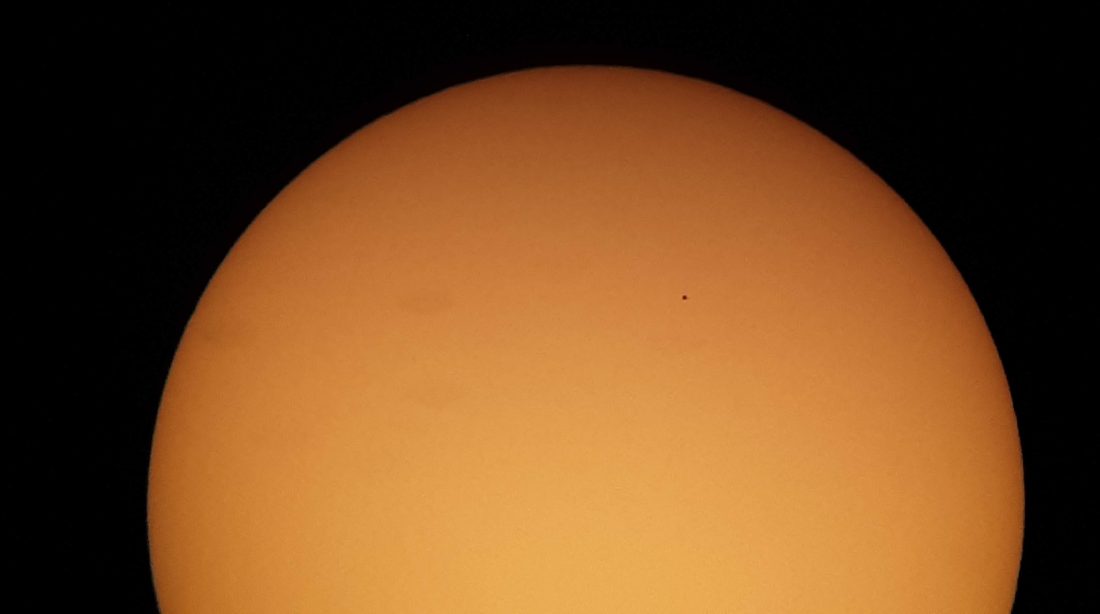
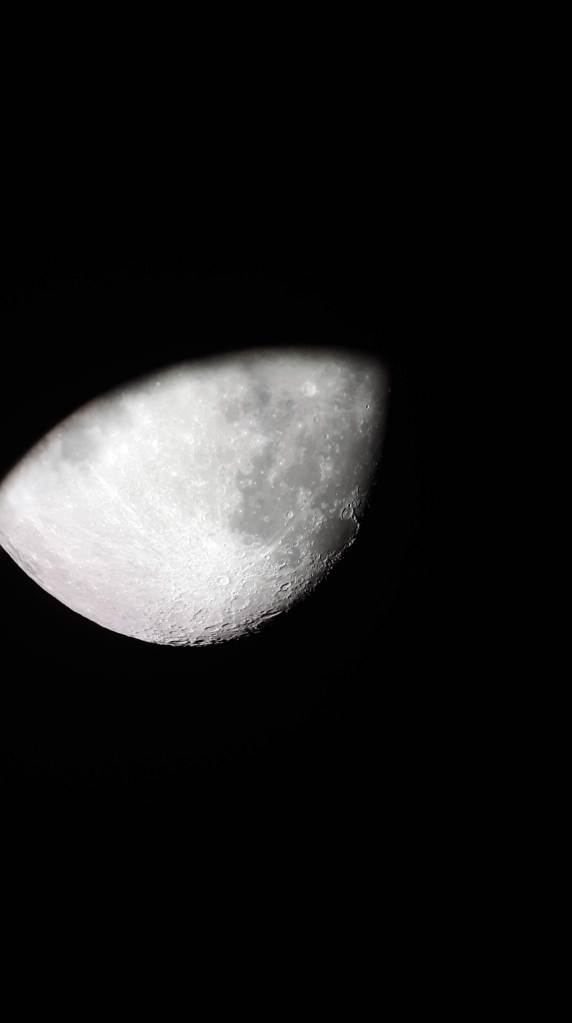
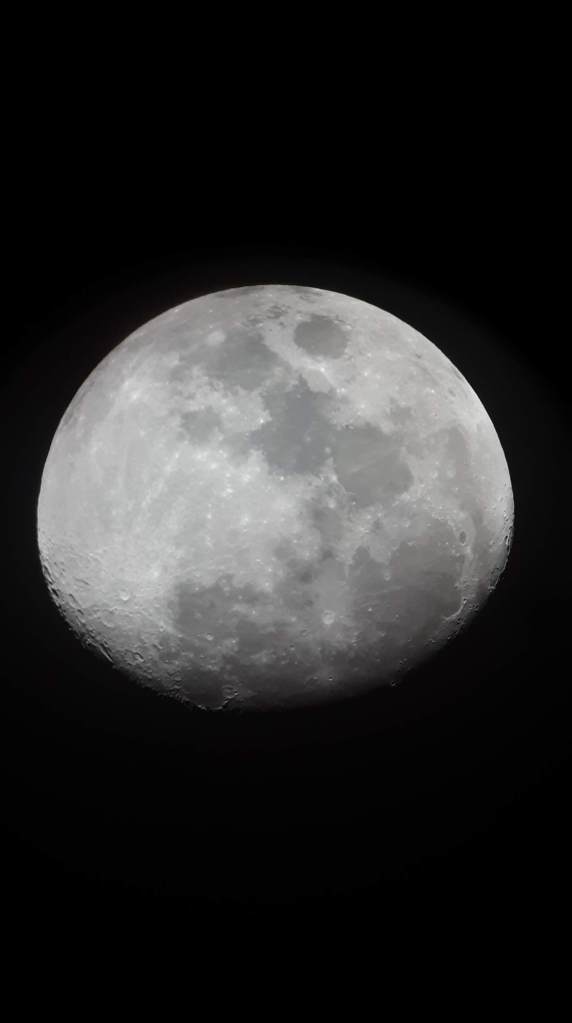
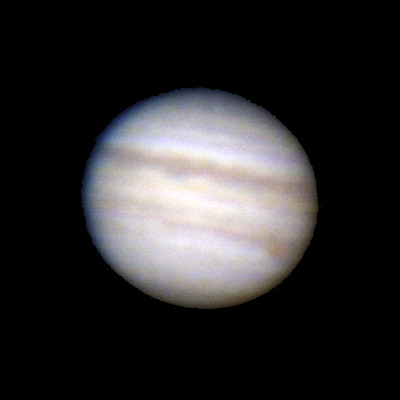
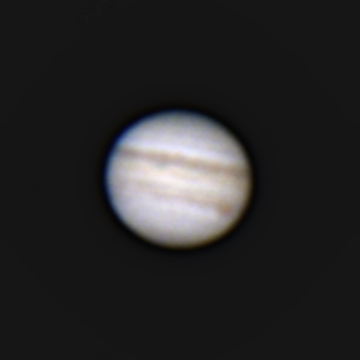
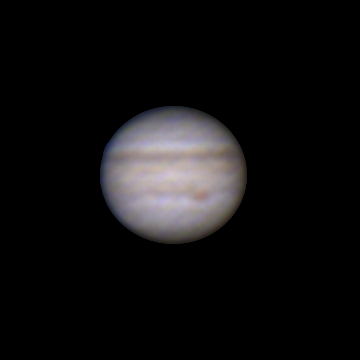
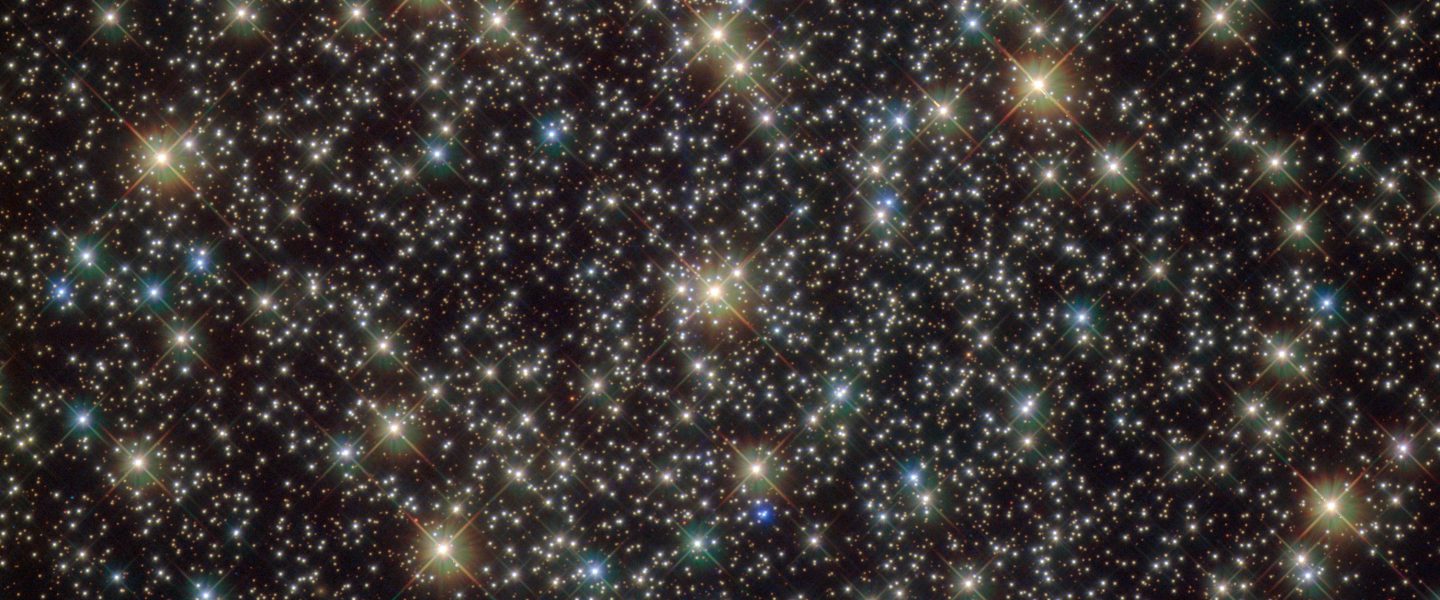
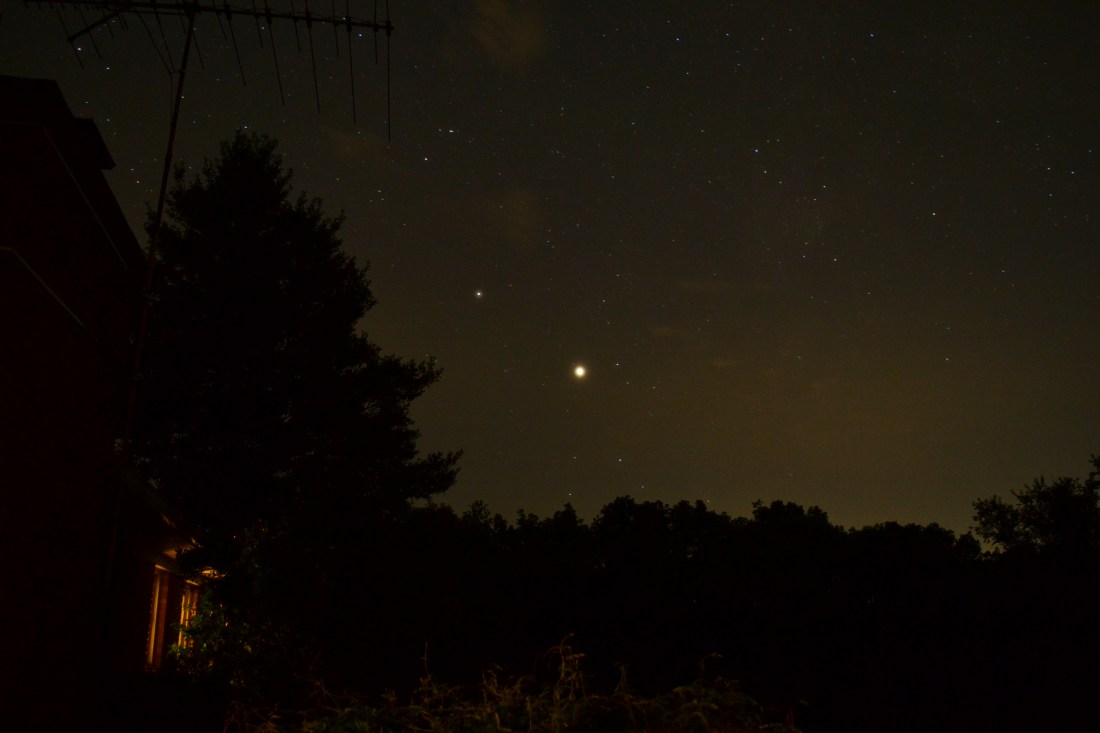
The Pictures

You can see the whole collection except the dark frame >here< (plus all of what you just read), and I’ll put a few in here directly below. I’m pretty pleased with how they came out straight from the camera. Obviously there is so much more that can be done that I intend to learn, but for the first run, this is pretty cool.

Technical

Most of these shots are 25 seconds long, with a couple at 20 seconds. If you zoom in you can tell there is just a bit of a trail on the 25 second stars, but not so much that you notice it much when zoomed out. As expected, the 20 second exposures have less of that effect, but they are significantly darker. I suppose about 20-25% darker. The 20-25 second figure is a product of what is called the “500 rule” that I read about on a number of websites. Divide 500 by the lens focal length to get the max shutter speed without trailing. For certain types of digital sensors, such as the one in the D3100, you have to adjust for the architecture by using 1.5 x the lens focal length. So I was shooting at 18mm zoom, times 1.5 is 27, and 500 / 27 = 18.5. So I was really going too long at 25 seconds by that calculus. Some folks I read recommended more like 8 seconds, take lots of images, and stack them in processing. That’s a lot of work for a beginner. The other option is to get a tracking mount of some sort that would essentially remove the limit altogether. By following the stars as the earth turns under them, you never get any trails. Well, we may get there eventually, but for now I’ll play with the math.

Observing from Home – Mercury Transit – 11 November 2019

On Monday, November 11, 2019, the planet Mercury lined up in such a way that it crossed the face of the sun from our vantage point on Earth. Because of the eccentricities and inclinations of the planets’ orbits, this is something that happens from time to time, like a lunar or solar eclipse. The last Mercury transit, as it is called happened in 2016, and the next will be in 2032. As it happened, this time our house was in a prime location to observe the event, and it was my day off. So I made some plans to have a look.

If you ever have opportunity to look at the sun, DON’T!! At least not if you don’t have the right equipment. Here’s a link to an article at Sky & Telescope with the right way to do it. If you follow the steps in the article, then it is a pretty cool thing to be able to do. Just be careful, or you or someone with you could go blind. You have been warned.

First viewing – Binoculars

Fortunately, I have the right equipment. I started out with my 10×50 binoculars equipped with solar filters that I had made for them before the 2017 solar eclipse. The sky was mostly clear but with patchy, high-level clouds, so not ideal, but a lot better than I expected. The transit started at about 7:30 a.m. EST, but I hadn’t convinced myself that I was going to be able to see anything yet, due to clouds, trees, and breakfast. I mean, it was my day off, and I don’t like getting up that early. By 8:15 I finally had enough coffee to begin executing my aforementioned plan. As you can probably tell, I’m not a really good planner, so when I say “I made plans to observe” what I mean is “I decided that I might give it a try and had a few options in mind about how to do so.” Any way, I went out in the front yard, which faces east and also a mess of trees, and found a spot on the front steps, actually, that had a clear line of sight to the sun. I got my binoculars fitted with their filters. Looking freehand was pretty much a No-Go. I had some hints that there was something there, but it was nothing I would swear to. So I got my camera tripod and attached the binocs, and that made all the difference.

I was surprised at how very small the planet Mercury appeared to be against the face of the sun. VERY small! Just a pinprick at about 8 o’clock and in from the edge maybe 1/6 to 1/4 the sun’s diameter. It’s no wonder I couldn’t make it out freehand. The streaky clouds often obscured it altogether. I tried taking some pictures with my phone, but that didn’t work well at all. The clouds were increasing, the sun was heading behind a tree, and I had seen the thing, so I felt pretty good, and went in, thinking I might be done. Then again, I might not.

Typical fall sky making it a little tough on solar astronomers, but I still had a good observing experience of the transit.

Second Viewing – Reflector

The sky cleared a bit, and the day warmed a bit, so I decided to break out a telescope. I thought about trying to quickly build a filter for my 8″ Celestron Schmidt-Cassegrain telescope, and this is where being a real planner would have been useful, but there just wasn’t time on the spot to get a workable and safe solution. The other choices I had were that I have full aperture filters for my 60mm Meade ETX Maksutov-Cassegrain and my 5″ Orion SpaceProbe reflector. The 60mm is motorized for tracking, but it’s only slightly bigger than my binoculars. The 5″ is significantly larger but was at the time unmounted. I have two manual equatorial mounts that would work, one that came with the 5″ that is pretty wobbly, and one that came with my 8″ reflector that is more stable but sticky in its movement. I opted for the functional but wobbly 5″ reflector set up.

Wide angle view of the sun with Mercury left of center. North is down, west is left.

About 11:45 a.m. EST, I set up on the pool deck, which worked out well with an unobstructed view of the sun. Clouds were intermittent and didn’t hinder the viewing as much as they had through the binoculars. I was able to watch the second half of the transit. Using a phone adapter by Gosky or GoSky, I was able to take pictures and video of the event with my Samsung Galaxy J3. This was a mixed blessing as I have documentation of my observing and pictures and video I can share with you, but it’s a different experience viewing directly through the eyepiece as compared to viewing through the camera. I took turns between the two. I did enough direct visual to say I saw it, but I felt especially unsatisfied and satisfied for having video-recorded the 3rd and 4th contacts, that is the end of the transit, which was about 1:05 p.m. EST.

I used 20mm Super-Plössl, 10mm Plössl, and 8.8mm Wide Angle eyepieces with and without a 2x Barlow lens. This provided magnification of 45x, 90x, 102x, 180x, and 204x. Mostly I kept to the midrange 90-102x. The planet was much more obvious than in the binoculars and clearly a disk and not just a dot. Using the zoom on the phone camera means that I have no idea what magnification I actually had for any of the pictures. Because I changed the camera zoom many times, it has been very difficult to try to compare or stack the images, as they are at different magnification with different parallax error and different color balance. Because a Newtonian reflector gives a mirror image both left-right and top-bottom, Mercury appeared to be backing out the way I had seen it coming in through the binoculars, but it did in fact travel from SE to NW all the way.

I’m glad I got the chance to observe this transit directly. The last transit of Venus a couple years ago got completely clouded out. As I mentioned, the next Mercury transit will be in 2032. I wonder what sort of tech we will have to observe that event. I hope we’ll still be around to see it.

Here’s a link to my collection of photos for the event at Google Photos.


Observing from Home – 11 August 2019

Conditions

  • 11 August 2019 – 22:00 (8/11) – 00:30 (8/12) EDT
  • mild – 60º-65º F; humidity 80-85%
  • Moon +11 days ~90% illumination
  • still; clear at first, but increasing clouds toward midnight
  • seeing – 6 or 7/10 – pretty good
  • transparency – inconsequential, as I was hunting orbs

Equipment

  • Celestron NexStar Evolution 8″ SCT
  • Eyepieces
    • 32 mm
    • 15 mm
    • 9 mm
    • 6 mm
  • 2x Barlow
  • Filters
    • Moon, blue, green, yellow

Objects

  • Moon
  • Jupiter
  • Saturn

Observations

A pleasant Sunday night. I pondered long about going out, because, much as I love the NexStar 8, it is a pain to drag it down to the pool deck. I finally discerned that my 3 targets – Jupiter, Moon, and Saturn – would be visible from the deck, so I set up in the northwest corner there. The problems were shakiness (really need to reinforce the deck at some point) and the TV aerial, which turned out to be right in the path of the moon and Saturn. The moon was just a few degrees W of Saturn, both sitting just above the Teapot of Sagittarius. Jupiter was 15º or so to the west just above Antares in Scorpius/Ophiuchus.


Moon

Southern region of the Moon. North is up. Just inside the terminator on the right (West) from bottom to top you can see Schiller, Gassendi, and Kepler, mentioned in the writeup.

I started with the Moon, using 32 mm = 62.5 X with moon filter and variations with 15 mm, 9 mm, and 2x Barlow. I don’t know the moon that well, so didn’t do much more than identify several craters. In the SW quadrant; Schiller, , a long, squashed crater; Gassendi was just east of the terminator – large with prominent central peak; small Flamsteed; up to Encke and Kepler, just on the terminator. On into the NW, Prinz on the terminator, and I think it was breaking dawn on Aristarchus, which sounds like a new age album. Saw Bianchini and Sharp just outside Sinus Iridum. After that I made my way to Mare Tranquillitatis to see if I could find the Apollo 11 astronaut craters: three small craters in a row just north of the landing site and named Aldrin, Collins, and Armstrong. Turns out they are quite small. While theoretically in reach of my scope, I had two problems (at least): 1) I had neglected to add my dew shield and was starting to fog over, and 2) the aforementioned TV aerial was now sitting across the heart of the moon, so that I wasn’t getting good resolution, even at 222 X. [An article in July 2019 Sky&Telescope suggests a 6″ scope can make them out at 250 X with steady seeing.]


Jupiter

Moved on to Jupiter, sitting low in the SW. Tried pushing the magnification to 333 X, and it was just a bit too much. 222 X wasn’t quite enough, but I didn’t think to use the 15 mm + 2X for 266 X, which might have been Goldilocks. Oh well. The GRS (Great Red Spot) was just past transit, very well placed, but so small! It was fairly obvious but just a tight, dark knot (nought? not.) in the SEB (Southern Equatorial Band), which itself was quite light. The NEB (Northern…) was dark and thick, and some “barges” were visible. The equatorial zone remains heavily shaded, darker than the temperate zones. One northern temperate band was visible. The GRS rotated about 2/3 to the limb while I observed, or so it seems to me as I write this. I tried a variety of color filters, including blue, green, and yellow. The blue highlighted the bands and GRS the best, as one would expect. Green and yellow both gave interesting interpretations but were ultimately not that helpful. Of the Galilean moons, I had just missed Io disappearing in eclipse as it turns out, and also just missed Ganymede emerging from eclipse at the other end of my observations. Oh well. Meanwhile, Europa was about 4 Jupiter diameters from the planet to the west. Callisto was about four Europa-Jupiter distances further to the west. I made a sketch at the eyepiece that shows the distances more or less. The GRS in the sketch is bigger than it appeared.


Moon, redux

Went back to the Moon for a bit after it cleared the tower, as it were. Took another stab at the Apollo 11 craters, but no. Poked around the southern highlands for a bit. I’ve always had a soft spot for Clavius, so I looked there for a bit. Noticed a few clouds moving in and wanted to get some Saturn time in, so moved there.


Saturn

Even with deteriorating conditions, Saturn looked pretty good. Again, pushing the mag, it was just a bit much at 333 X, so ended up with the 266 X combo I hadn’t thought of earlier. The rings are tilted so that the other edges are about lined up with the edge of the disk. It’s just a bit past opposition (okay, a month past), so there is just a little bit of shadow on the rings right at the pole, or that’s what I’ve gathered. Any way, the rings kind of squish at that point. Not much color tonight, just a yellowish tint. Darker in the N temperate to polar region with a slightly dark band at the bottom. Very 3-D. Cassini Gap easily visible.


Pics

I took several handheld pictures and videos with my phone at the eyepiece for all three targets. Moon was best, of course, then Saturn. Jupiter was washed out. Clouds were moving in, and I was tired, so I washed out, too.

Best shot of the Moon for the night. North is right and West is down.
Best of Jupiter for the night, which is not that great. North is upper left, West is to the lower left. More or less.
Saturn. Not as impressive as seeing it live. You sort of see the dips where the rings and the disk limb cross, right? North is right.

You can see the full series of pictures I took at my Google Pictures album, >here<.


Observing from Home – 1 July 2019 – Pics or Didn’t Happen.

I haven’t written up my notes on this session yet, but I started trying some astrophotography, and that’s been taking some time and attention. It has taken almost a year to get the right combination of learning, confidence, and clear skies, but I finally got out with the astro camera I won at the Green Bank Star Quest 2018. It’s an Orion StarShoot Solar System Color Imager IV, and it doesn’t work with OS X above 10.10. So I had to partition my hard drive and reinstalled 10.8.5. Even so, it is a glitchy proposition. Nevertheless, I succeeded in taking a series of videos of Jupiter on 1 July and have been processing them into stacked photos with an old program called Lynkeos. It’s pretty easy to follow the steps. What is difficult is learning how to fiddle with the settings to maximize the results in the photo. I’m getting there.

So herewith are the three photos I have produced so far. They are stacks of about 350 images each, +/- 100. The images are from video taken between 22:30 and 23:18 EDT. I used the Celestron Nexstar Evolution 8″ SCT with a 2x Barlow lens. I did the stacking and initial processing in Lynkeos, as I mentioned, and finished the processing in GIMP. The first is larger because I processed it on my lappie while the other two were done on the desktop and the resolution settings were different. Haven’t really tracked down the exact cause.

Jupiter, 1 July 2019, 22:30 EDT, CT WV
Jupiter, 1 July 2019, 22:35 EDT, CT WV
Jupiter, 1 July 2019, 23:18 EDT, CT WV

So there. Now I’m an astrophotographer.

Description of the whole observing session to follow in a separate post.